When you create an email account in Google Workspace, you can also add multiple aliases to receive emails from multiple addresses to a single mailbox. You can also send from these aliases, however, this isn't enabled by default. This document will guide you through the steps to enable your Google Workspace mailbox to send as aliases.
1. Go to
https://www.gmail.com and sign in with your primary email address.
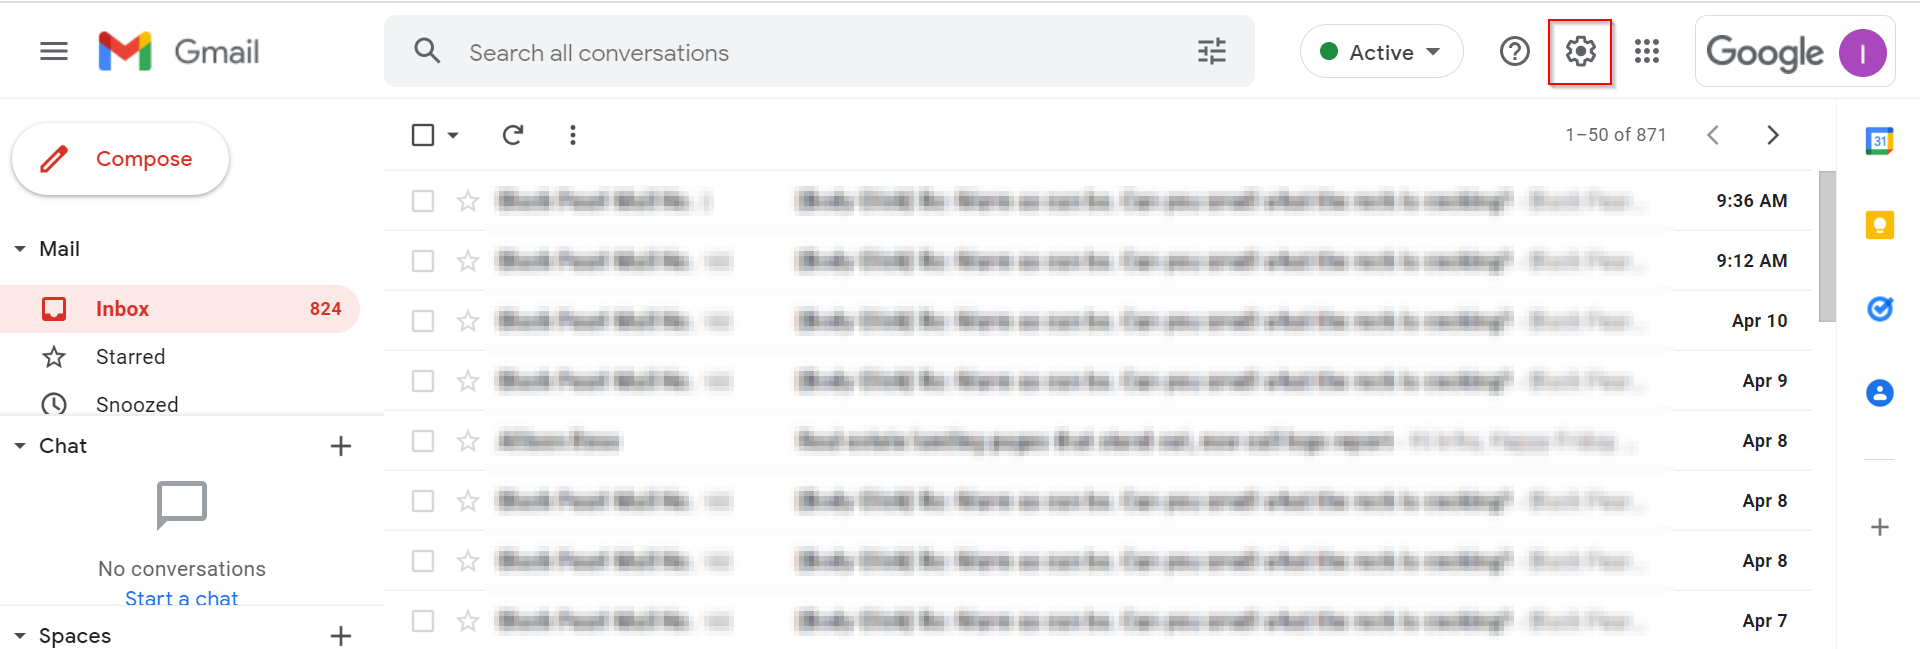
2. Click on the
settings cog in the top right-hand corner of the screen.
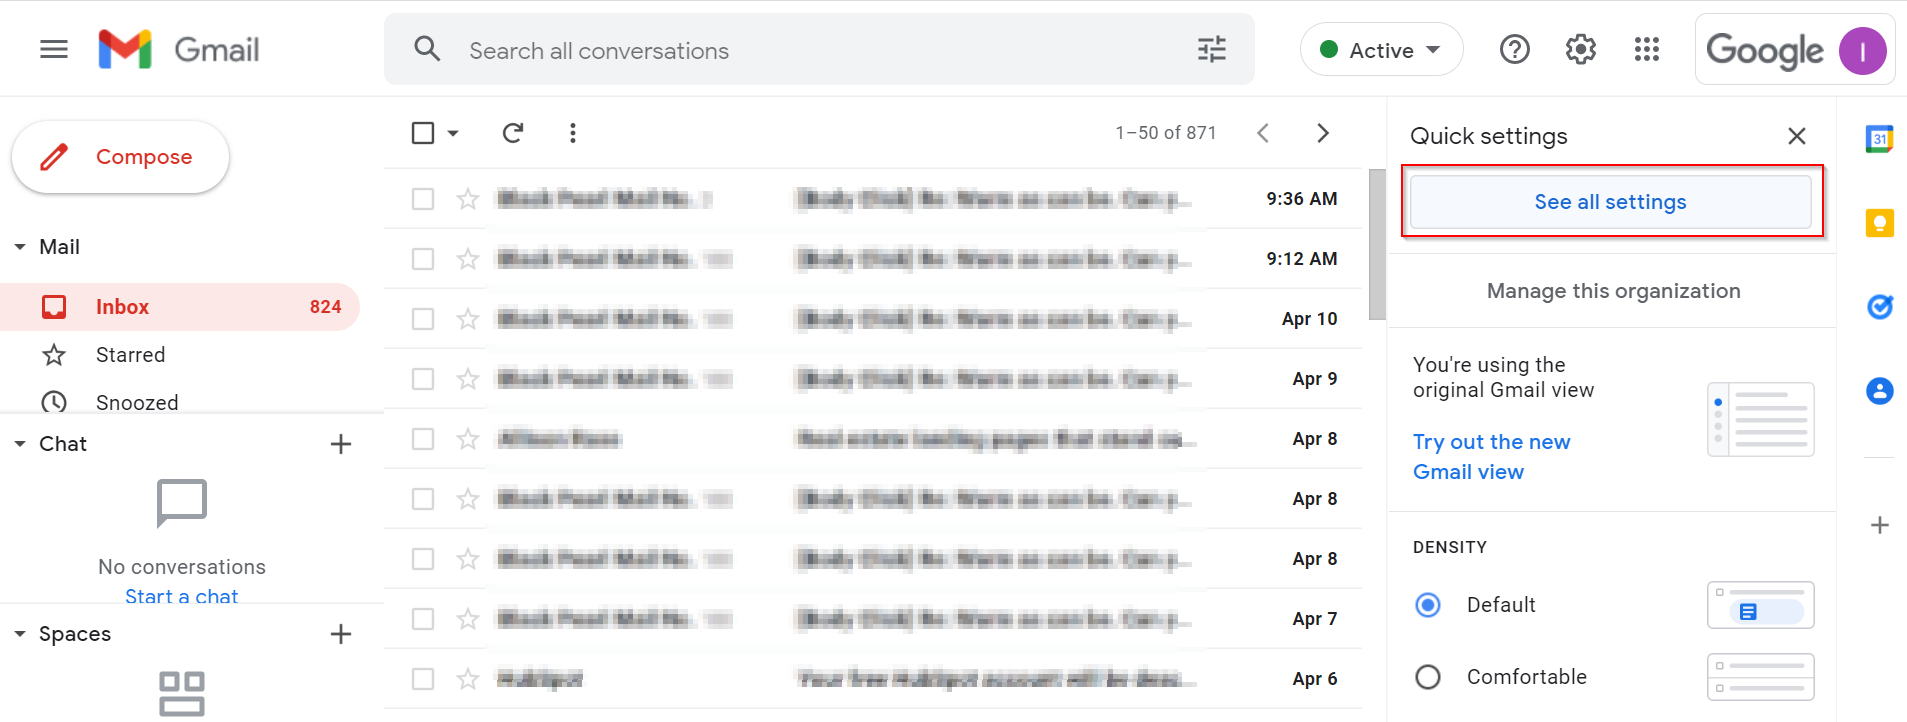
3. Click
See all settings
.
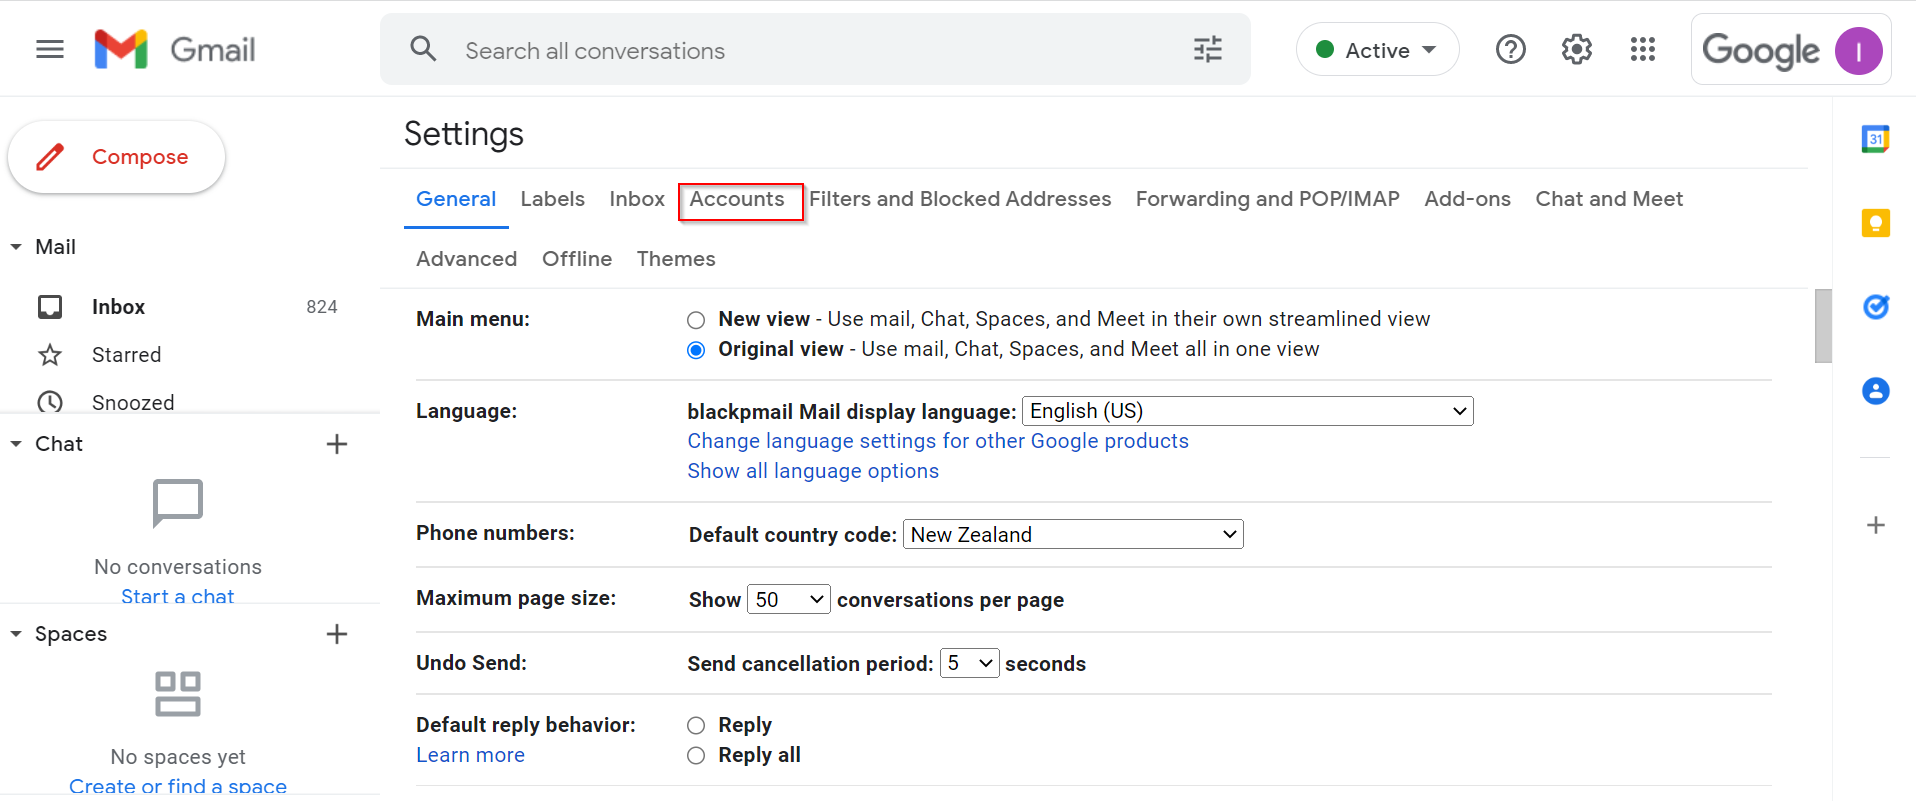
4. Click on
Accounts
.
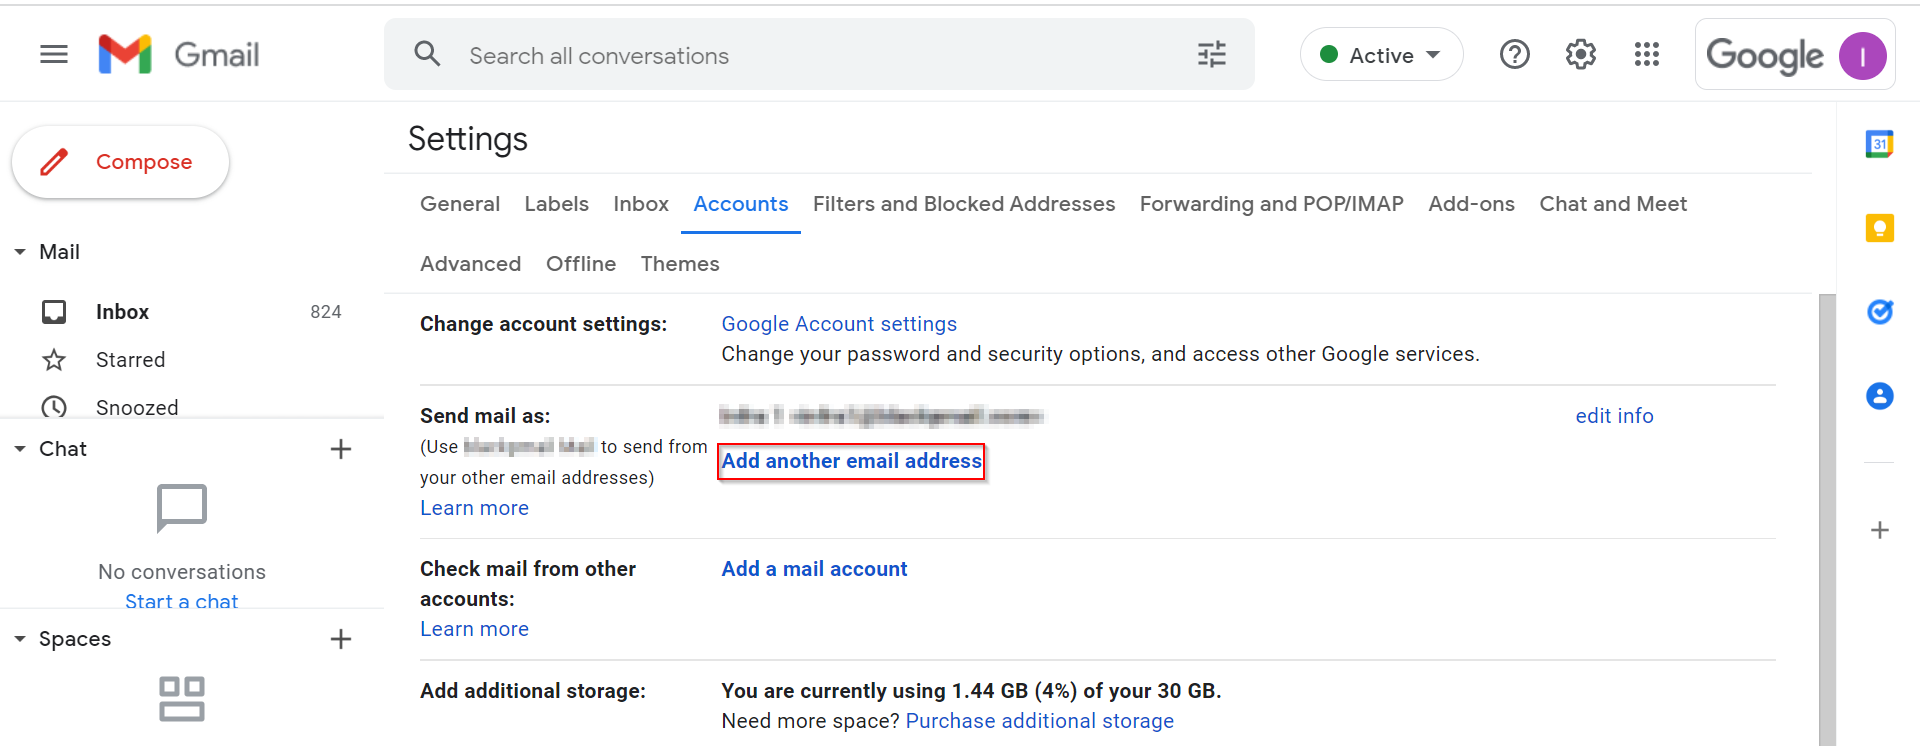
5. Next to the
Send mail as option
, click
Add another email address
.
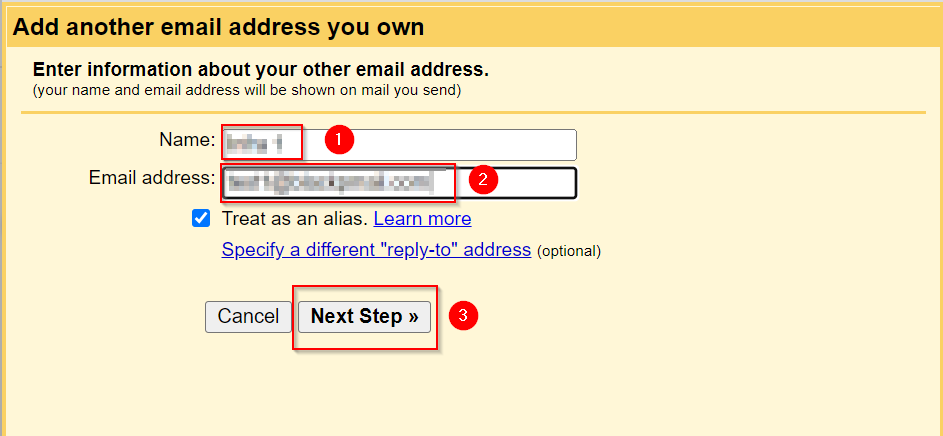
6. Enter a name for the account, then enter the email address of the alias you would like to add, and then click
Next step
.
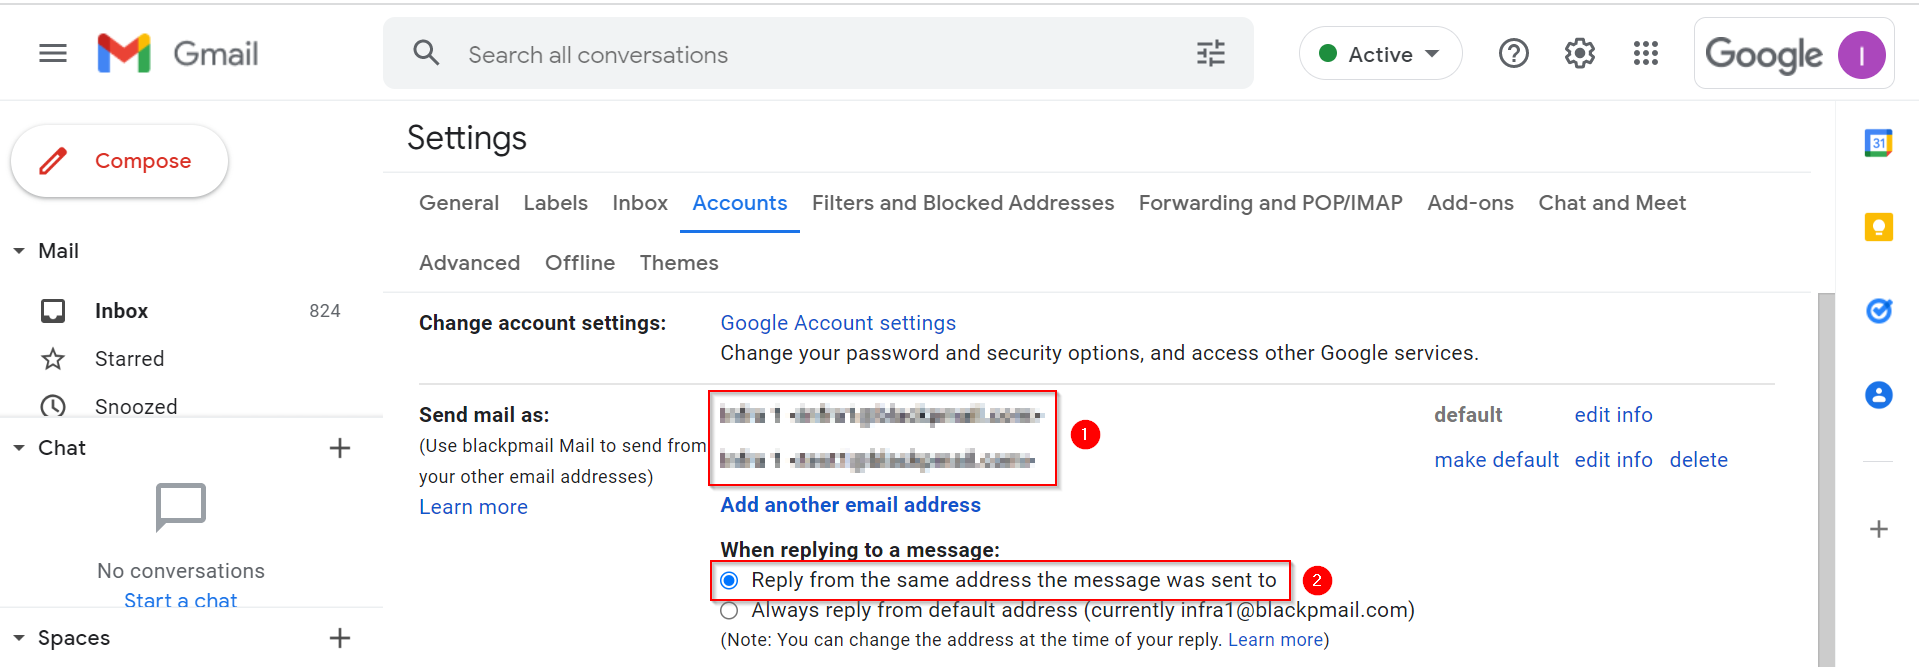
7. You should now see both addresses listed. We also recommend selecting the option to
Reply to the same address the message was sent to
(optional).
8. Repeat steps 5 and 6 if you have additional email aliases to add.
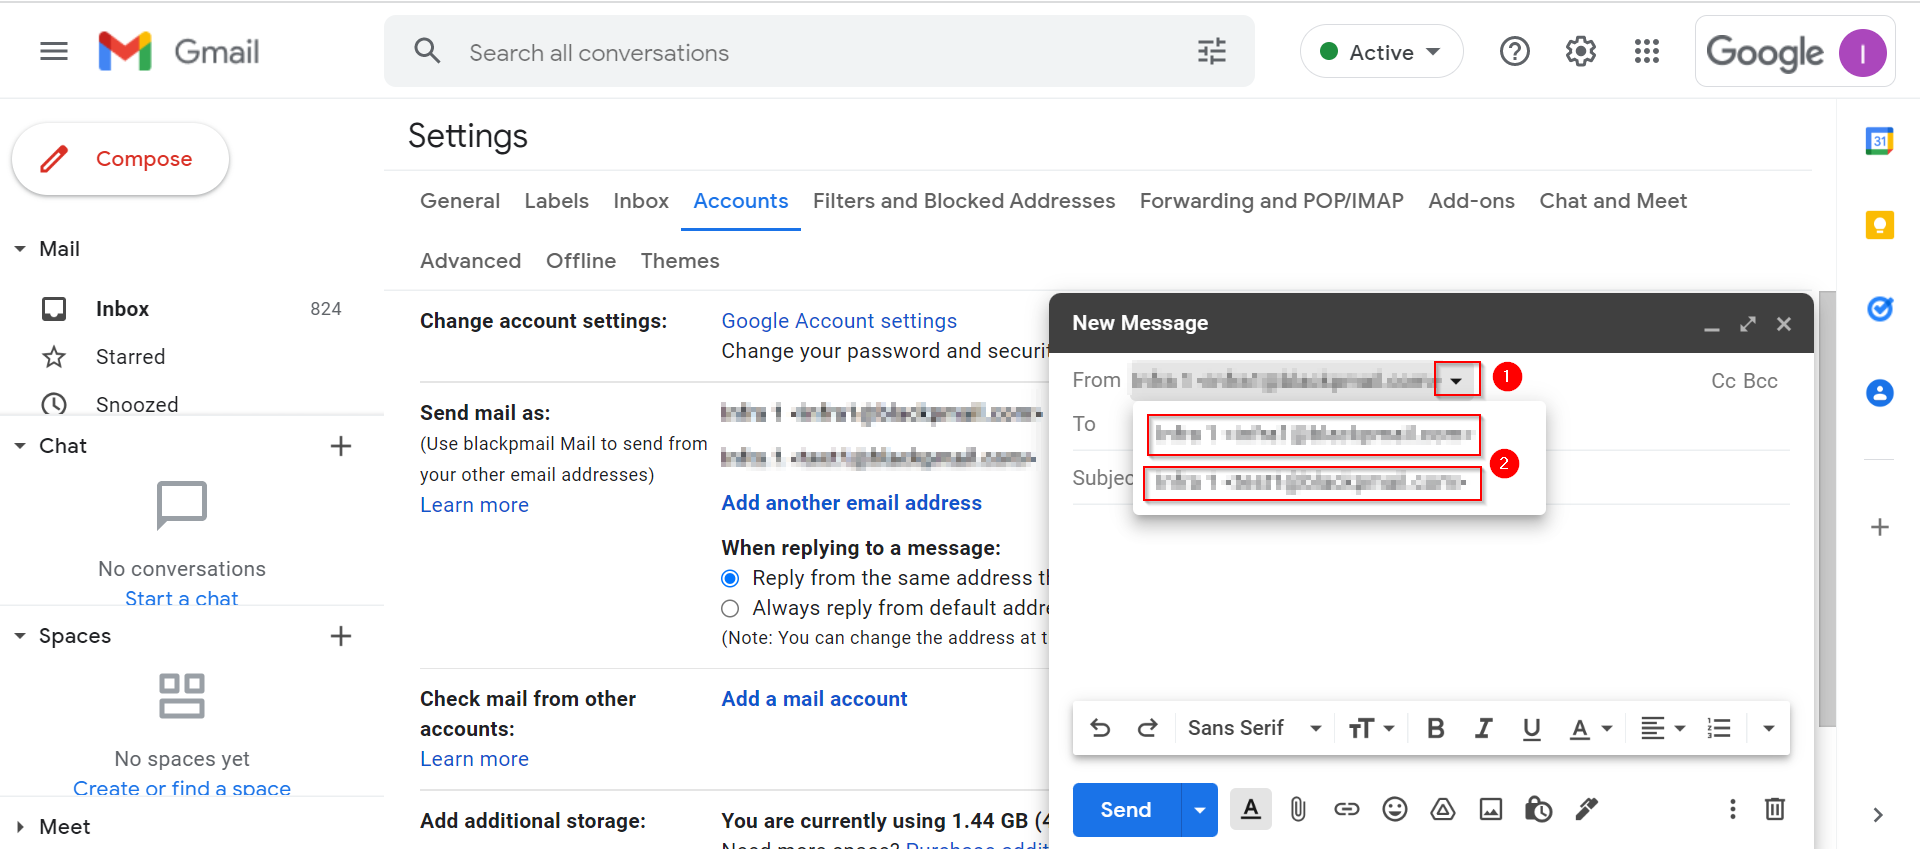
9. To test, simply compose a new email. You should now see an option to choose which address to send from.
If you get stuck with any of the above steps, please contact
support@blackpearlmail.com for assistance.