1. Select 'Synchronize' located in the top right corner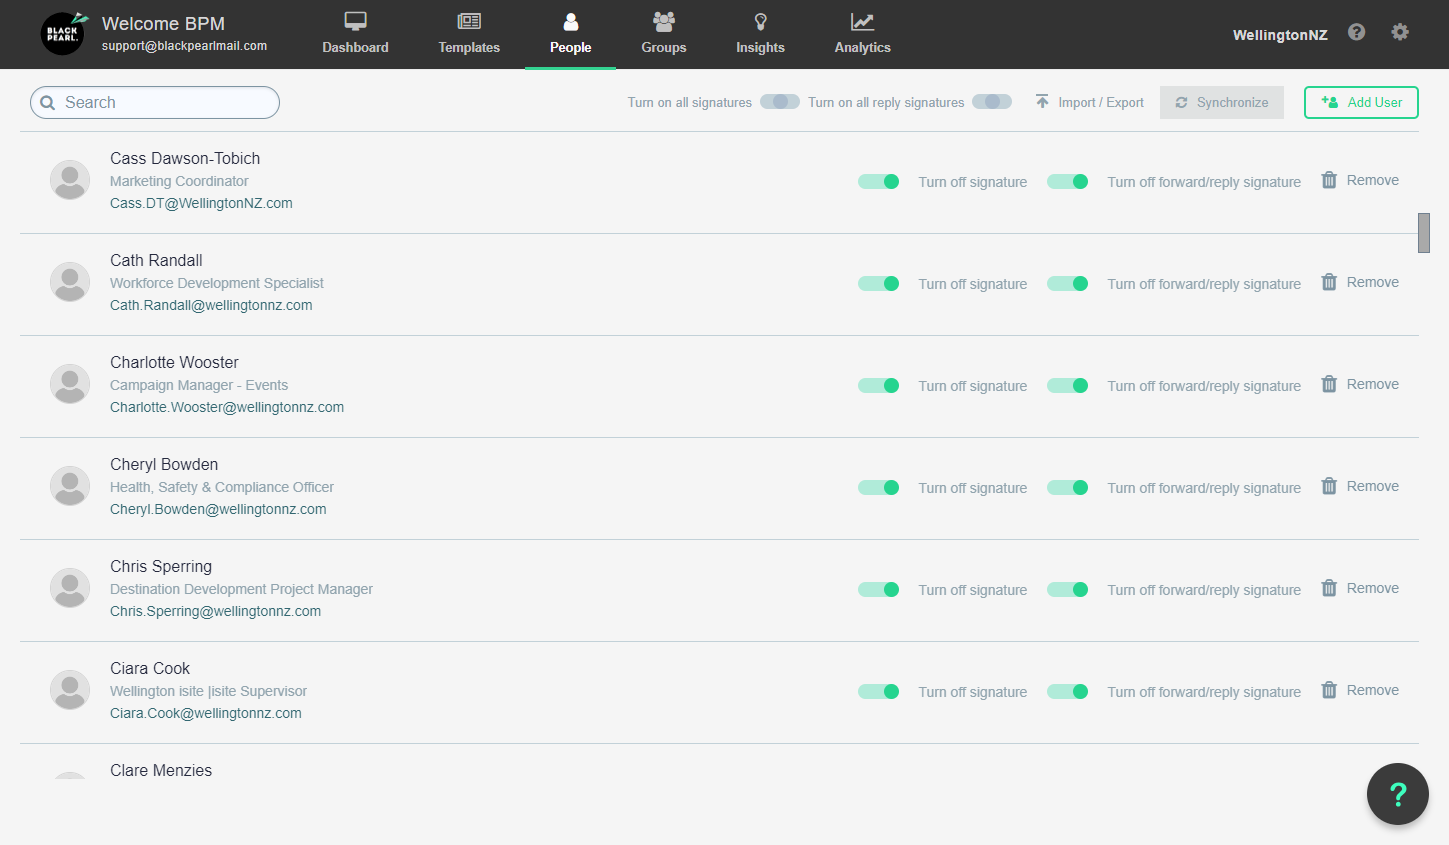
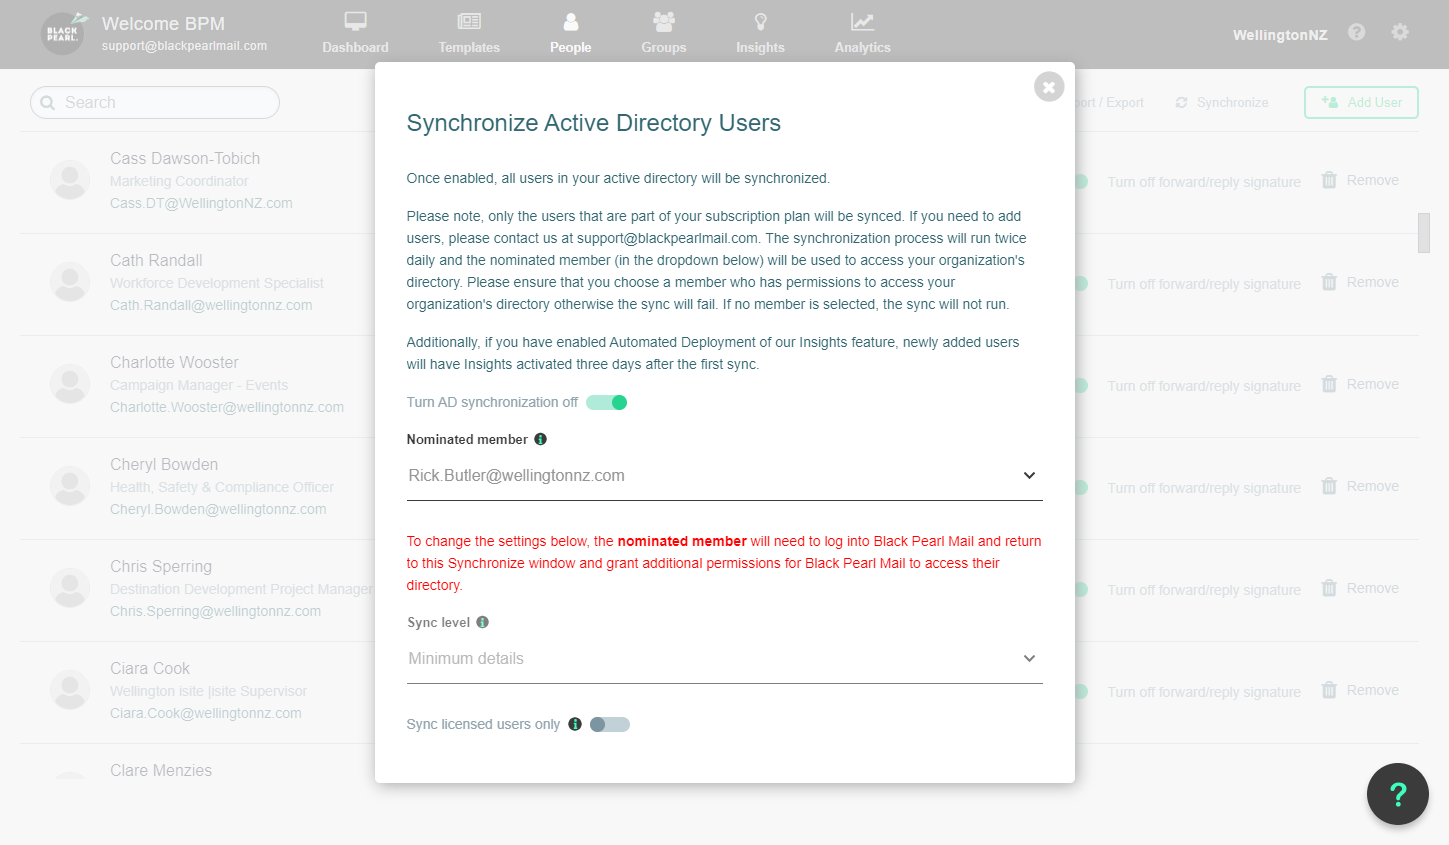
2. Turn on AD synchronization to initiate the basic syncing process.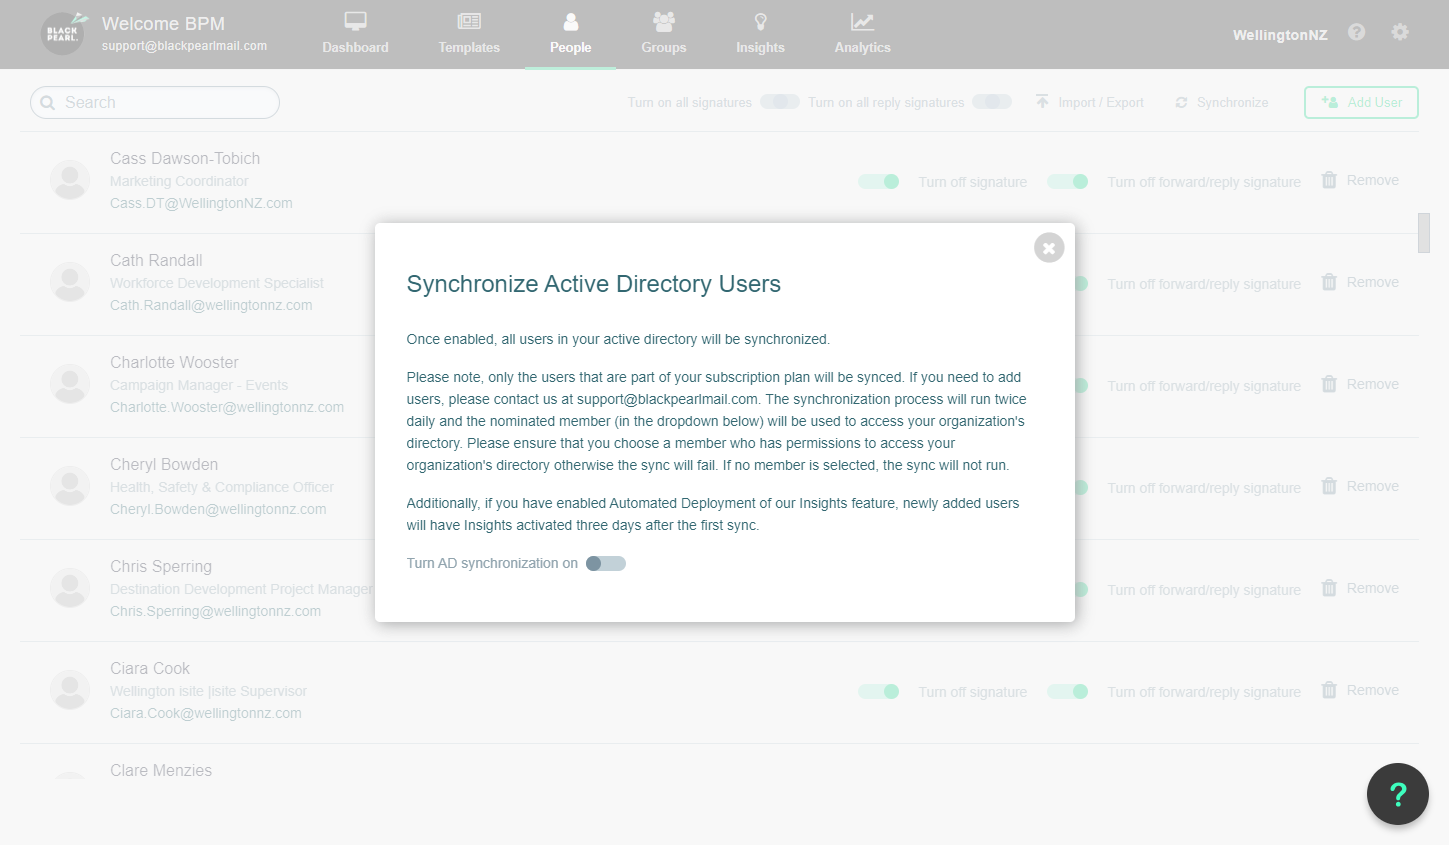
3. If you are not the admin for your emailing system, instructions in red will outline the process to enable sync.
To proceed, you will need to select the email of your email admin under the nominated member section

4. Click on the 'Sync level' drop-down which will give you more options in syncing.
- Minimum sync - this will sync name and email
- Advanced sync - this will sync all information store in your active directory, including phone numbers, job descriptions and alternative emails listed. Please note, headshots saved in active directory will not sync through to Black Pearl however and need to ne uploaded manually.